Once you have generated your own vector tiles or downloaded them from the downloads section, you need a tile server to serve the vector tiles via HTTP to your map clients or fall back to rendering raster tiles for users with legacy browsers.
TileServer GL supports both serving vector as well as raster tiles (through Mapbox GL Native). It is also providing a WMTS endpoint. For more information, dive into the main documentation for TileServer GL.
This tutorial shows how to serve the vector tiles downloaded from OpenMapTiles.
Install
We recommend to install TileServer GL using Docker:
docker pull maptiler/tileserver-gl
Now download the vector tiles in form of MBTiles file from the OpenMapTiles Downloads and save it in your current directory.
curl -o zurich_switzerland.mbtiles https://[ADDRESS-YOU-GET-IN-DOWNLOADS]
Serve Map Tiles
You should mount the current directory containing the vector tiles to the /data path inside of the container and bind the local port 8080 to port 8080 inside of the container:
docker run -it -v $(pwd):/data -p 8080:8080 maptiler/tileserver-gl
or from OpenMapTiles repository
make start-tileserver
This will start a Node.js container with tileserver-gl on your computer.
Visit http://localhost:8080 to check the TileServer GL GUI.
In the Data section of TileServer, you will see your hosted map tiles. You can use the provided TileJSON endpoint as a source in your GL styles or explore the data using the X-Ray view.

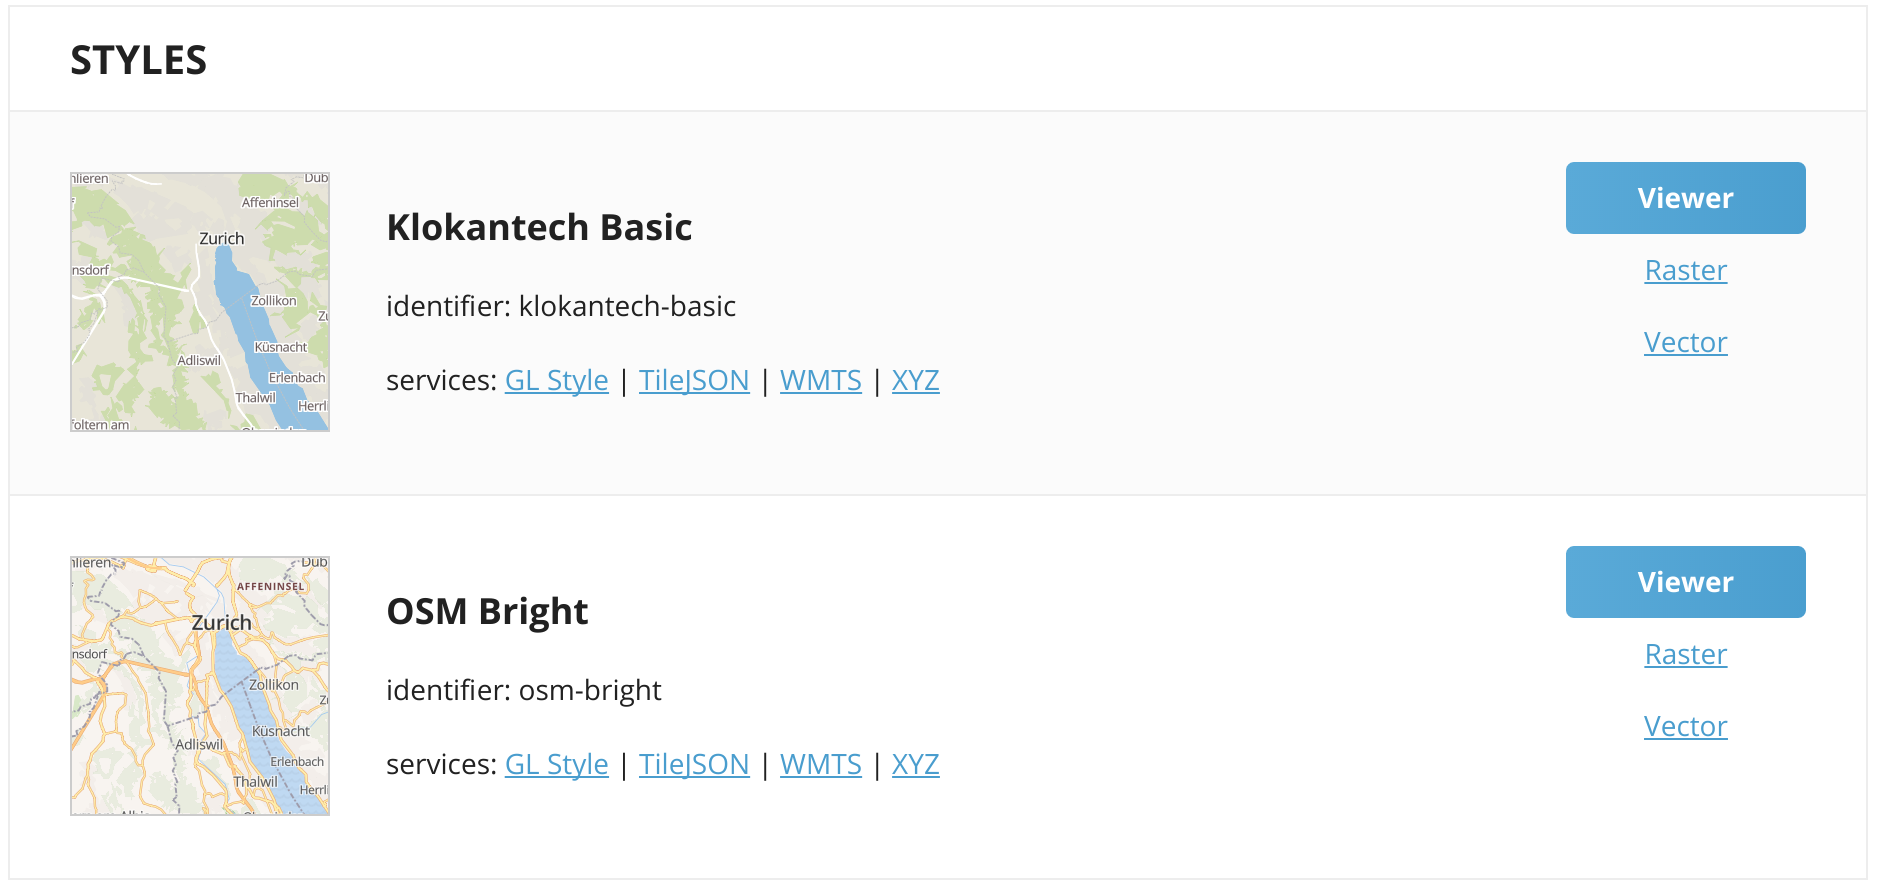
In the Styles section of the TileServer, you can see the preconfigured styles for rendering raster tiles from the vector tiles in the Data section. You can check out the styles either by using Leaflet to see raster tiles (Raster) or Mapbox GL for vector tiles (Vector). Moreover, you get a WMTS endpoint for each of the tiles.

Additional Documentation
Read up on the main documentation for TileServer GL for advanced configurations or special settings.
