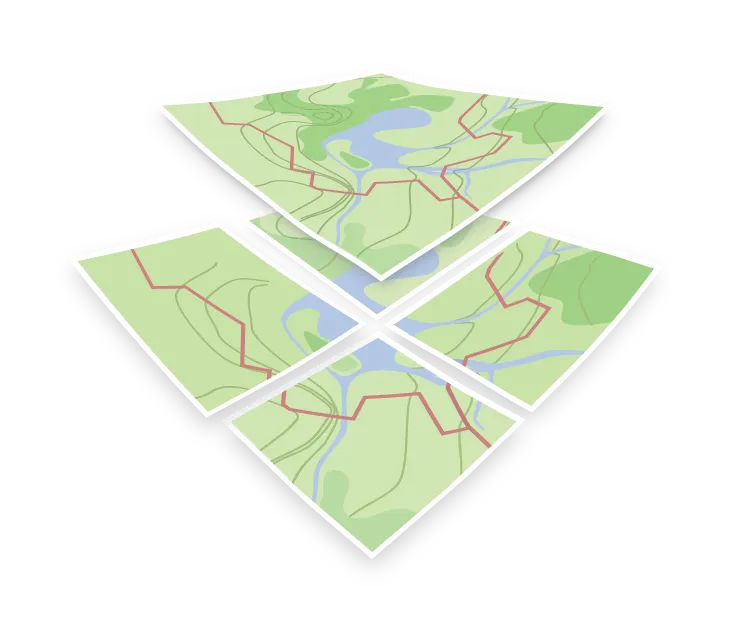

Custom raster layer
You can combine OpenMapTiles with any custom raster layer. This includes not only scanned paper maps or satellite imagery used as a base layer in your map, but also the semi‑transparent hillshading layer that improves the look and feel of standard OpenMapTiles maps.
Prepare raster tiles
Raster data you want to use for the map should be converted into map tiles first. You can use MapTiler for the job. MapTiler is easy to use and also supports georeferencing if your raster data does not have a geographical position yet. It supports many input formats, including PNG, JPEG, GeoTIFF, ECW, and PDF.
We recommend exporting map tiles in MBTiles format, but a folder output is also possible.
Prepare map style
The next step after creating map tiles is to prepare a map style suitable for your data. The easy way is to start with one of the existing GL styles and edit it locally with Maputnik.
After you clone the style repository and before you start editing in Maputnik, you need to add a source of your raster data. Open style.json in a text editor and find the sources section. It should look like this:
  "sources": {
    "openmaptiles": {
      "type": "vector",
      "url": "https://api.maptiler.com/tiles/v3-openmaptiles/tiles.json?key={key}"
    }
  },
Add a new source with a reference to your map tiles:
  "sources": {
    "openmaptiles": {
      "type": "vector",
      "url": "https://api.maptiler.com/tiles/v3-openmaptiles/tiles.json?key={key}"
    },
    "mymaptiles": {
      "type": "raster",
      "url": "path/to/your/file.mbtiles"
    }
  },
Then you can start editing your style in Maputnik and adjust it as you want. Editing the raster layer style can be very simple:
{
  "id": "mylayer",
  "type": "raster",
  "source": "mymaptiles",
  "layout": {
    "visibility": "visible"
  }
}
After you adjust the style, your map is ready.
Viewing the map
The final map can be served as a combination of OpenMapTiles and raster MBTiles, as well as a single raster tileset using TileServer GL.