Another way of designing a map style is to use Mapbox Studio Classic desktop application in combination with OpenMapTiles to create Tilemill2 tile styles for Mapnik renderer. Even though this workflow is still functional, it is recommended to switch to the MapBox Studio.
NOTE: If you need raster tiles, it is highly recommended to use the TileServerGL project, which provides raster tiles rendered on the server side from the vector tiles and the modern GL styles.
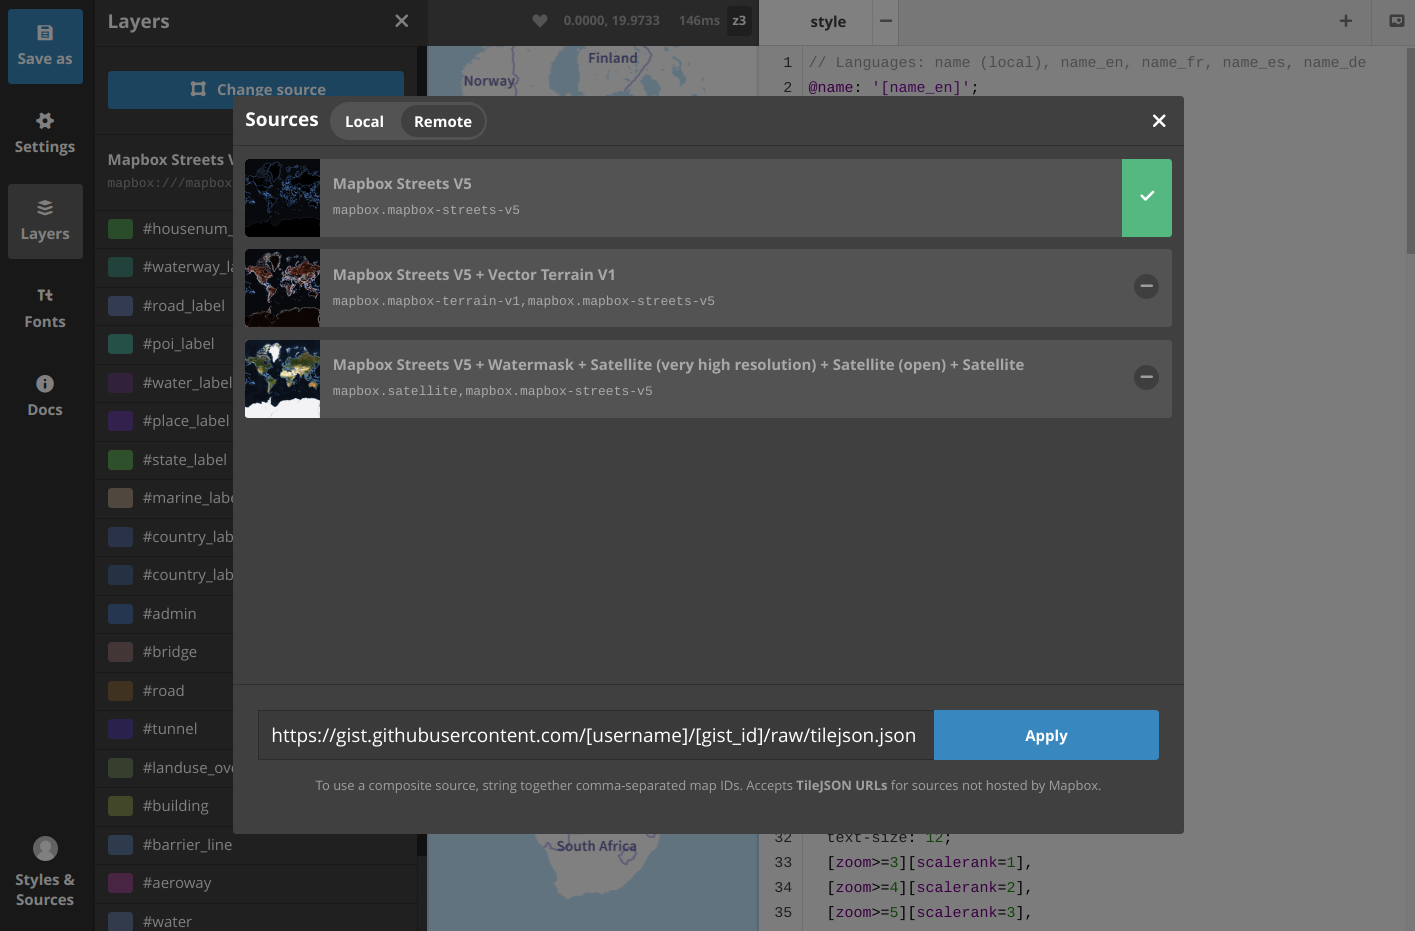
Change the Source
Go to Vector tile hosting and get a free key. Then download TileJSON from URL
https://api.maptiler.com/tiles/v3-openmaptiles/tiles.json?key={key}
and save it as a file with .json extension (the extension is necessary for Mapbox Studio Classic). Upload the JSON to the web, e.g. using Gist. Finally change the source of your TM2 style to URL of your TileJSON and save the style.
Write CartoCSS
Change the CartoCSS selector to match the OpenMapTiles layers. Learn more about the OpenMapTiles vector tile schema to find layers and attributes you need to create your own map.
Check out the video tutorial how to port an existing TM2 style to OpenMapTiles.
Ported Classic Styles
To simplify your effort, we already ported some nice-looking open licensed raster tile styles.
- Light: mapbox-studio-light.tm2
- Dark: mapbox-studio-dark.tm2
- OSM Bright: mapbox-studio-osm-bright.tm2
- Pencil: mapbox-studio-pencil.tm2
- Woodcut: mapbox-studio-woodcut.tm2
- Pirates: mapbox-studio-pirates.tm2
- Wheatpaste: mapbox-studio-wheatpaste.tm2